I’ll be honest, I LOVE the idea of DIY projects but I have never been that good at them. Sure, I’ll pin all of these ideas on my Pinterest board and I might even go as far to get the supplies, but then I just get distracted and move on haha. There are very few Pinterest projects I’ve completed and lived to talk about! 😉
However, pinching pennies has changed my perspective on DIY projects and helped me become super focused! 😉 I have a list of several crafts I’m working on for the wedding and there is no better motivation to stay on track with these projects than saving money! 🙂 I’m actually really excited about these projects I’ll be working on! Each thing I’m making for the wedding will be something that we can use as decoration in our house later! YAY! I definitely want to get the most out of these crafts!
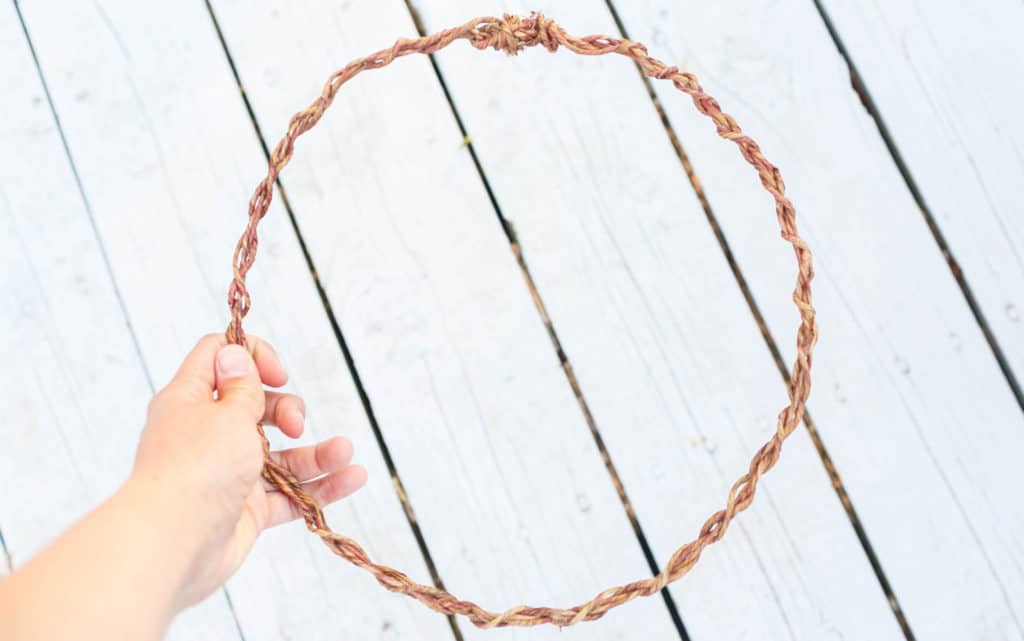
Today I’m sharing Part 1 of a craft I’m working on for the wedding. I’m going to make two of these “wreaths” into ” Mr. & Mrs.” signs for mine and Justin’s chairs at our table. I see the typical “Mr. & Mrs.” signs at Target and Michael’s, but I wanted ours to be unique and something that wouldn’t look too cliché. I feel that personalizing it will make it more special and be a fun addition to our home decor later! 🙂
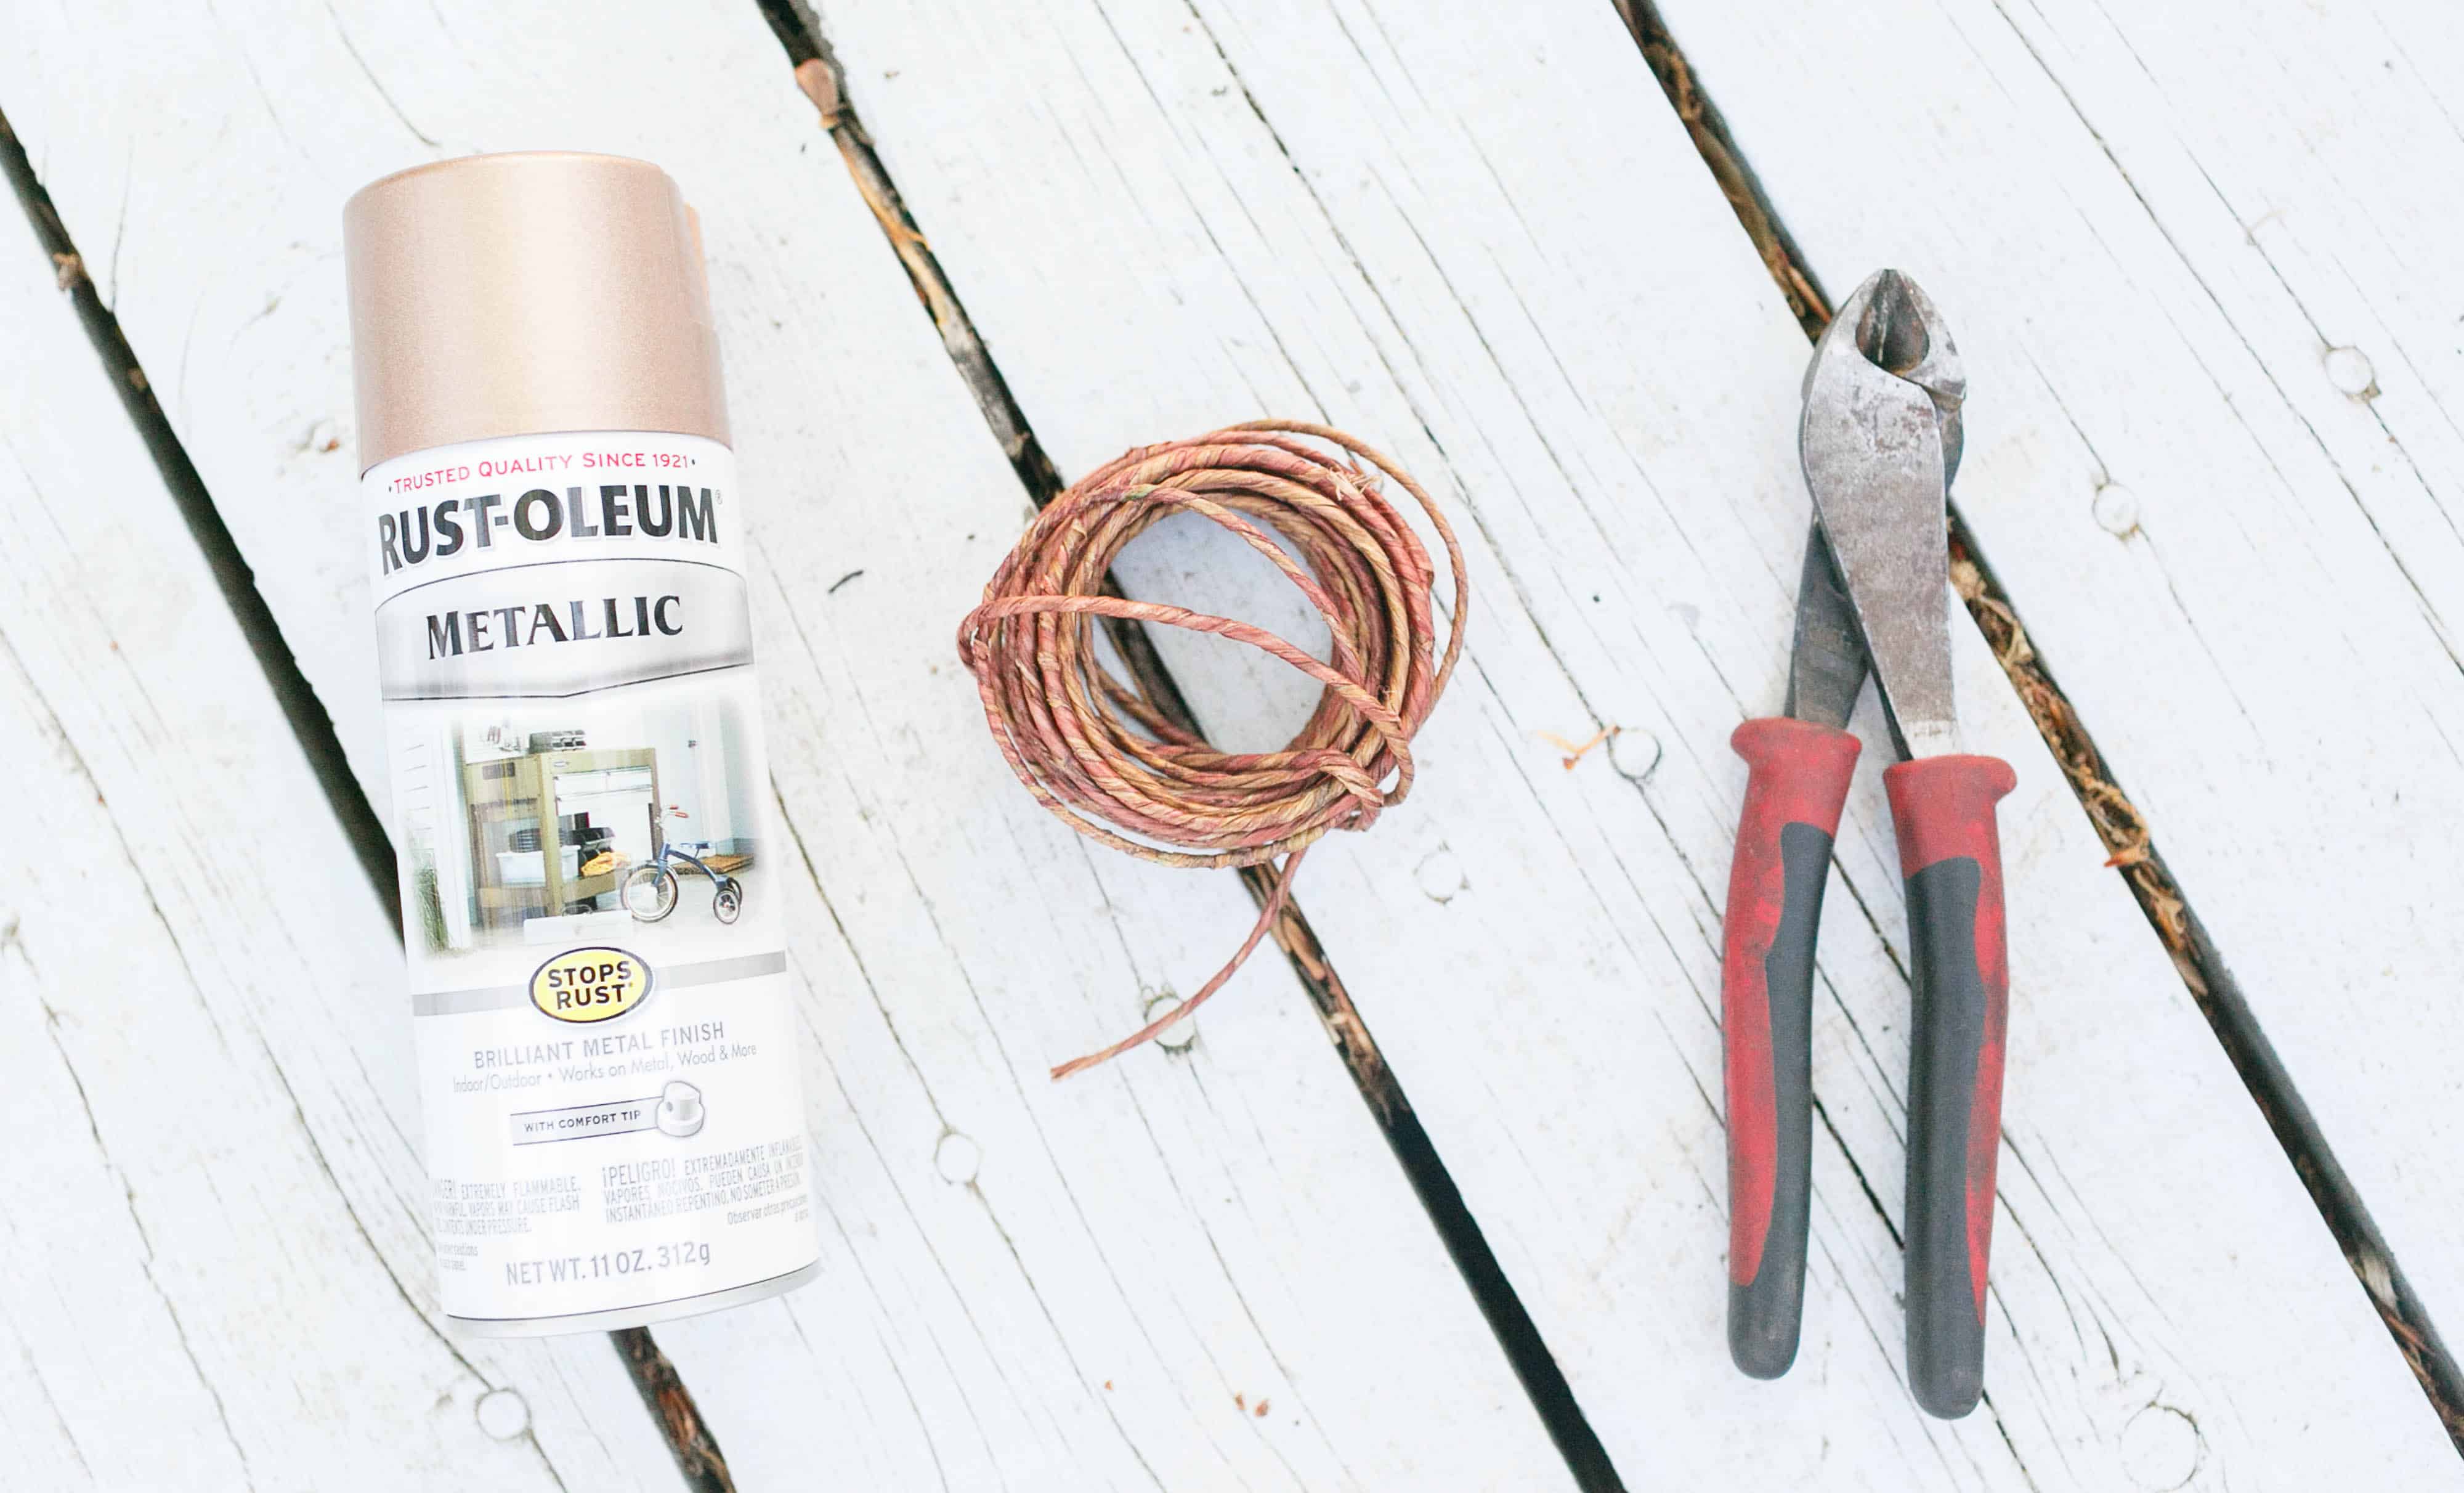
PLUS I love how affordable this craft is going to be! When it’s all said and done, I’ll only need 5 supplies max and two can usually be found around the house. I think I’ll spend under $10 when all of this is over with!
For Part 1 of this project, all you need is:
-spray paint
-wire-twine
-wire cutters
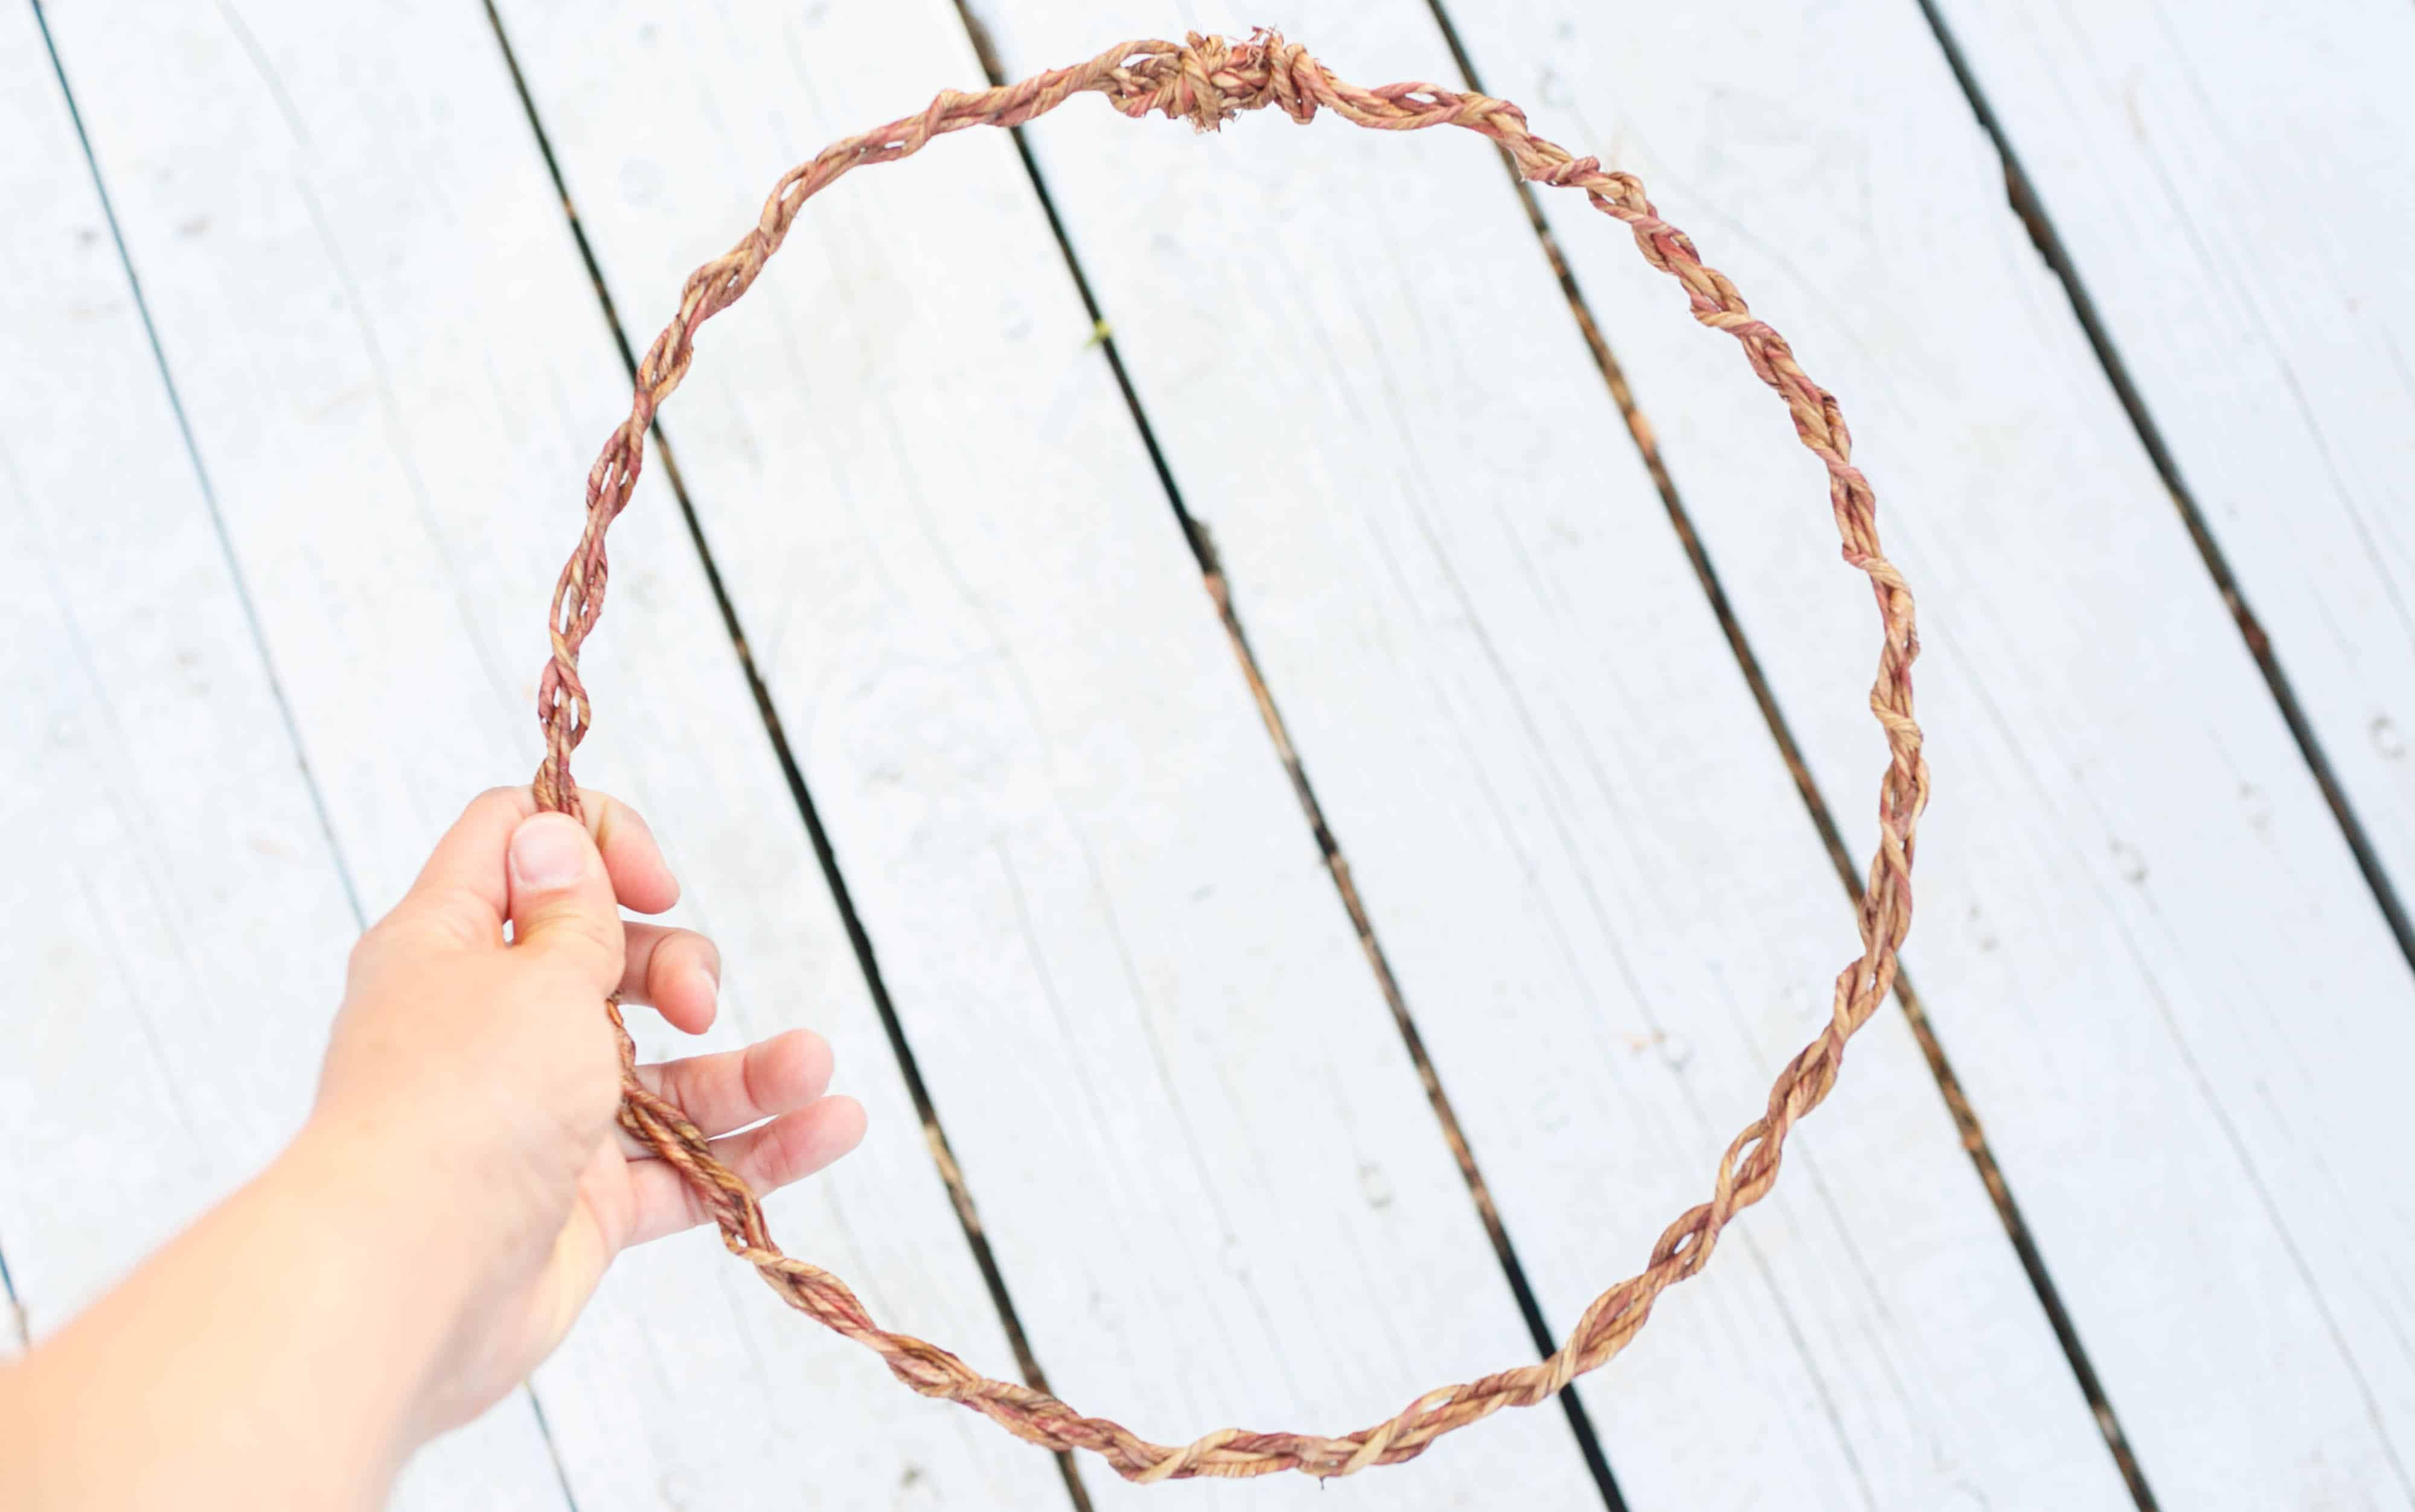
I took the twine and shaped it into the shape of a circle. After I got the desired shape, I cut the wire and twisted it together. Then I did the same thing 4 more times and wrapped the wire around the circle until it got thicker.
After I did that, I spray painted the wreath. There’s no pictures of that step because when everything was still drying. Those pics will be included in Part 2 of this post. 😉
Until then, this will have to hold you over! Can’t wait to show you what the next part will look like!!! I’m really excited about this project and can’t wait to share some of my other wedding crafts with y’all!
P.S. Sorry I’ve said “DIY” so much! haha. I can’t help myself! 🙂
To see more Adventures in Wedding Planning posts, click HERE!


2 Comments
Yay!! I can’t wait to see how these turn out!!!
Hey way to go! Need any help with a project let me know. I can do here & send to u
Comments are closed.